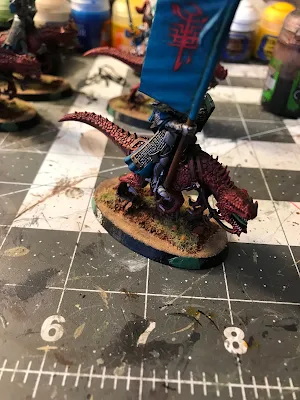
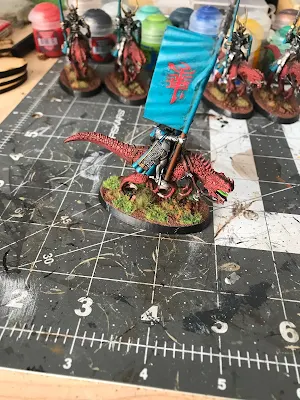
Today I have a tutorial for an easy conversion! Disclaimer, you'll need access to a 3D printer, which you can sometimes do at a local library or if you have a friend if you don't already have your own.
Step 1: Print the bases
Files can be found here at Thingiverse: https://www.thingiverse.com/thing:2952975
Here you have an assortment of bases to choose from. For this example I've gone with cavalry bases for my Drakespawn Knights. I've printed them the standard 0.2 mm layer height in PLA, and a set of five only took about an hour from start to finish. I didn't bother with any brims, and it came out just fine. Once printed, just gently slot the base into the coverter. I put dabs of super glue in to keep the model firmly in place.
Step 2: Integration
As you can see from the picture in Step 1, there are little nubs from where the rectangular base juts out from the converter, I simply clipped them off and sanded them to mold to the new base. This will leave some gaps though, so fill those in with green stuff and smooth it out to conform to the round base.
Step 3: Gap Fill
Now just fill in the seams between the new base and the old. You can either do this with successive layers of PVA glue or roll out a thin strip of green stuff and fill in the gap. If your base will be done with texture paste you can skip this step as that will fill in the gaps regardless.
Step 4: Texture
I texture the bare surfaces of the round base to match the original cavalry base, making sure to slightly go over the old texture as well to hide any transitions.
Step 5: Detailing
The final step is to paint and flock the rest of the base to match the original. From here you should have pretty good looking bases that match your originals without a whole lot of effort. Excluding print or drying time this really only took me about 3 minutes a base, and was much easier than trying to chop off the top of the original base.
Hope that you find this tutorial useful!


No comments:
Post a Comment