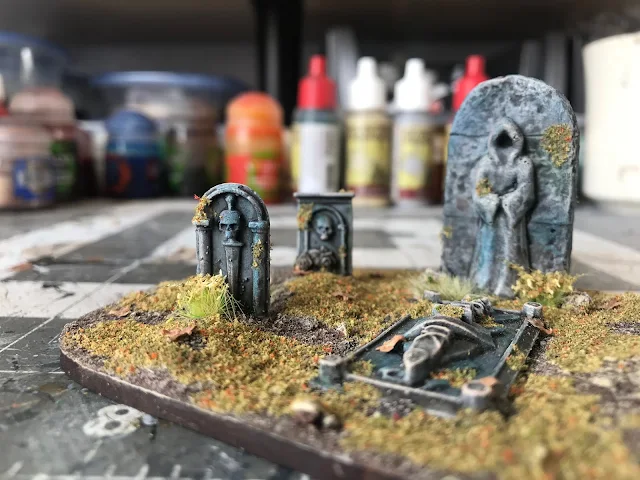
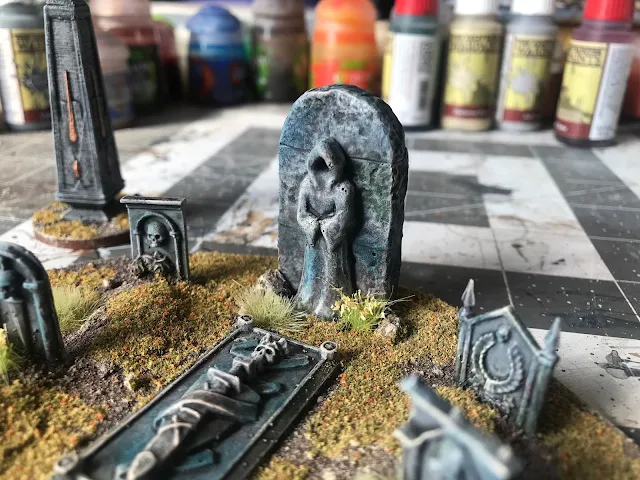
I then cover the base in slightly watered down PVA glue, careful not to cover too many of the bits. I then pour sand over the PVA, and once it has dried for a bit, I shake the entire model to remove any loose grains. At this stage, I thought the ground looked too flat, so I decided to add some mounds to each of the headstones. You can use wall filler or any similar compound, I just used some snow texture since I had that right on hand. I exaggerated the size of these mounds so that it would be obvious once all of the flocking goes on.
Once the mounds are dry, glue on some sand so that the texture is uniform across the piece. After everything was dry, I painted primer onto all of the plastic bits. The statue is made of a porous compound, so takes paint naturally.
After a night of drying, I painted the ground my standard color of Burnt Umber, drybrushed with khaki, then drybrushed with white. A 3D printed obelisk made its way into my paint queue and got the same treatment.
Now for a bit of a time jump, since I neglected to take pictures of the process. I painted all of the stone Uniform Grey (AP) then drybrushed with Matt White (AP). I then washed all of the stone texture with Nuln Oil (GW). After drying, I dabbed some Green Tone (AP) to denote some stains. I wanted the stone to have a cooler tone, so I stippled some Incubi Darkness (GW) in patches across the stone. To blend the stone into the ground, I very lightly drybrushed all of the stone with Skeleton Brown (AP).
With the stone completed, I flocked the ground with Woodland Scenics flock, leaving some patches of earth to show through. This helps to break up the look and colors of the model. I also added patches of Middenheim Tufts (GW) and flowering shrubs from Army Painter. Less is more in this situation.


No comments:
Post a Comment