
Get your spooky brushes and clippers, and welcome to the second annual Spooktober event! Like last year, I'll be focusing on miniatures and terrain that fit in well with my death armies in celebration of Halloween, one of the funnest times of the year and (in my opinion) the gateway to the holiday season. In the third post of the event, I'm posting a tutorial of even more terrain in a similar vein to last week's build.

Continuing the terrain them from last week's post, I've upgraded another one of Reaper Miniatures terrain kits from the Bones V Kickstarter, the Encounter at Gallowgard. The set is comprised of the gate and drawbridge, plus a ranger and some skeleton minis. My focus with this project was setting the gate into some sort of terrain, with the hope that the drawbridge would actually serve as a bridge and not just lie flat on the table. As with the last set of terrain, this fits into the ruins of Ravenmarch theme.

The first step of any major project like this is the planning phase. I had the goal set out of having the drawbridge actually cross a chasm. So I had to find a way of elevating the terrain piece. I also wanted it to be line of sight blocking, so it needed to be tall, and cover a sufficient area of the battlefield to be tactically significant. With those conditions in mind, the materials I chose were XPS foam and an MDF base that has the same footprint as the old GW wild woods.

I then measure out where I wanted the drawbridge to sit and how far apart I wanted the chasm to be. Initially I tried using one layer of XPS foam, but it didn't give me the height that I thought would look good. I added a second layer, which introduced another problem. I wanted a path to lead to the drawbridge to make the terrain more playable, but with two layers and the limiting base size, a path would be too steep for minis to stand on. I didn't want the model to get too big, so I decided to axe the path from the plan. To keep the model solid, I used toothpicks to pin the two layers together. I clamped everything together and let it sit over night.

The next issue with two layers is that, in the finished model, it can be obvious that it is composed of two layers sandwiched together. The uniformity of features is a dead give away. So I added a lot of textures and rubble to hide where the layers joined. Initially I wanted a wide chasm, so there was plenty of room for a river. I actually wish I kept it this way in the end, but I was over zealous in the application of grout later.

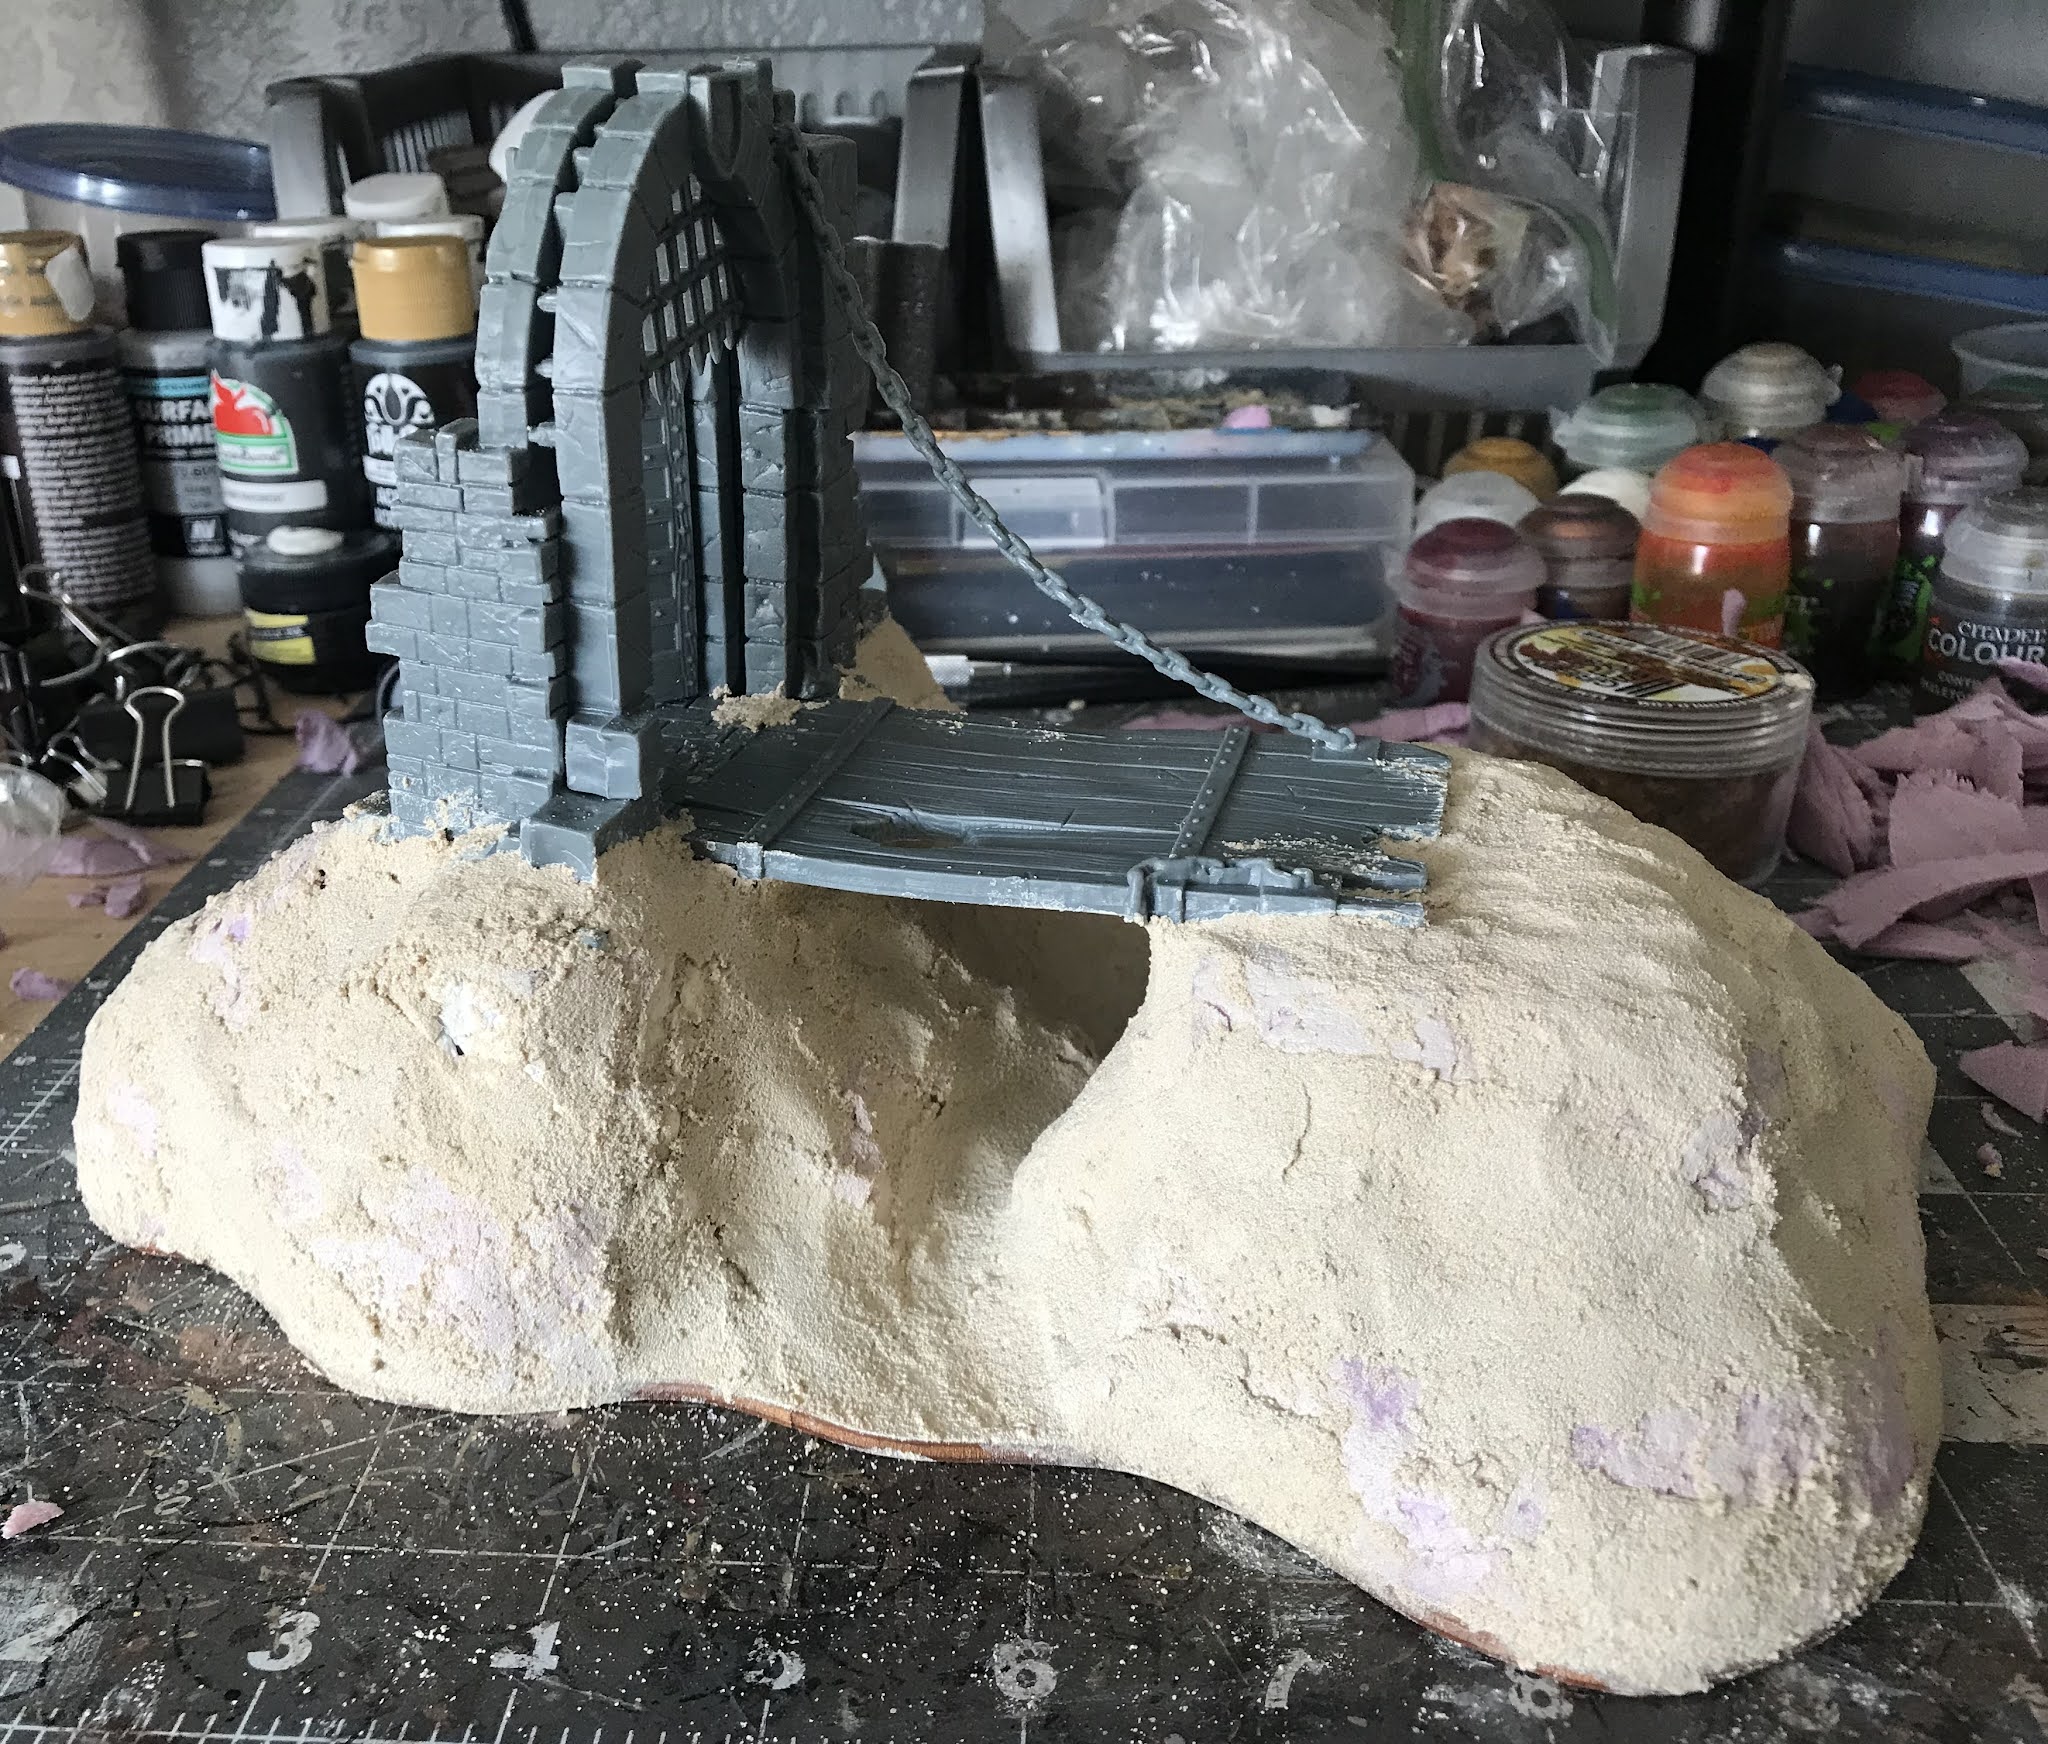
For visual interest, I wanted more texture than foam, so I added sand, ripped up chunks of foam, and even some plaster in places. Pebbles were also strategically thrown around to look like rubble ripped out from the castle itself. The larger bits of foam I textured with an aluminum foil ball, just in case anything popped out later.

At this point I had a little bit of warping in the MDF, as you can see in the below photo where the drawbridge has left an outline of solidified glue. I used superglue to attached the plastic to the dried PVA glue which was still attached to the foam. This was a cool thing to discover, as usually super glue eats through foam. I then smeared a bit of water on the MDF to induce warping in the opposite direction, clamped the model again, and let it sit. The next day the warping was fixed and I could continue.

I used to texture models like this with playground sand, but I discovered that pre-mixed grout makes excellent texture, so I used that instead. It also makes the model incredibly durable. Unfortunately for me, I went a tad overboard with the grout and covered a lot of the details that I wanted to show through, as well as reducing my river to a creek. Oh well, lessons learned.
The grout is really easy to work with though. Take a scoop, place it in the general area that you want, and with a wet finger you can push the grout to where you want it. The thicker the grout the longer it will take to dry.


I let the model dry for two days, and it was like a rock, and also quite heavy now. I kept an eye out throughout the drying process for any warping, but none occurred thankfully. Now it was ready for some paint. The basecoat is burnt umber, but I mixed in some greys and tans for some color variety, which I again would end up burying later. Once dry, I drybrushed with khaki and light grey all over the model. I washed some very diluted black paint around the model for even more color differentiation.

The stone was the same formula as last week: dark grey and successive drybrushes of lighter greys all the way up to black. To keep stone interesting, I paint some of the individual bricks with different washes to give them different hues of color. I extended this color down to the rubble below the gate to imply that it all came from the same castle that has now long since vanished.

I also added some rocks to the creek, it was looking a little empty. To denote the water and help the resin later, I tinted the river bed with a wash of diluted green craft paint. I extended this slightly up the walls, as well as adding some marks to make it look like water pouring down into the channel.

For the wood of the bridge and the door, I didn't want the typical brown as it would blend in with the earth colors. I mixed Leather Brown (AP) with Chaos Red (AP) to achieve the redwood look. I dryrbushed with Desert Yellow (AP), then once everything was dry I washed it with Carroburg Crimson (GW). I really like how this came out and will be keeping the formula for the future.

The metals were also very simple. I used Gunmetal (AP), washed with Agrax Earthshade (GW), then drybrushed with Shining Silver (AP) and bits of Ryza Rust (GW). I used this weathering on the stone in certain areas to show the rust flowing off from rain and the elements. Have fun with this step, and go to town with the weathering. At this point the painting was done, and again I wish I left a little bit more of these details show through. But if the flocking ever chips off there's plenty of color underneath to show.

Now that the painting was done I moved on to flocking the model. I used Earth Blend and Green Blend turf in various mixtures around the model, with more green approaching the river. These are products from Woodland Scenics that you can get in tubs. To really seal this in, I mixed PVA glue with water and sprayed it all over. Once dry, the flocking is very sturdy and I'll be using that technique from here on out.

For the river I used Woodland Scenics Realistic Water, and let me say, it's not my favorite for water effects. As it dries it shrinks, so the middle of the river kept sinking in. I poured 3 layers of the stuff to get the look right, and even then I'm not entirely satisfied. I used Green Tone (AP) to tint the water, which did come out nice in my opinion.

From there all that remained was to add tufts of different kinds and some autumn leaves. I know that there are no trees on this particular model, but I would most likely use it with tree scatter terrain so it's justified in my book. And with that the model is complete! Lot's of learning opportunities with this one, and at the end of the day I am pleased with how it came out. Enjoy the glamor shots!


-The Space Dinosaur


Wow, it looks absolutely gorgeous! Congrats!
ReplyDeleteThanks a ton! Really proud of how it came out in the end.
Delete